The Ultimate Guide to Custom Gym Studio Mirror Installation


Introduction to Gym Studio Mirrors
Installing custom mirrors in a gym studio is an essential step in creating an effective workout environment. Mirrors not only enhance the aesthetic appeal but also provide practical benefits, such as improving form and technique. Whether you're opening a new gym or renovating an existing space, understanding the installation process is crucial.
In this guide, we'll walk you through the key considerations and steps involved in installing custom gym studio mirrors. From selecting the right type of mirror to ensuring proper installation, we've got you covered.

Choosing the Right Mirror
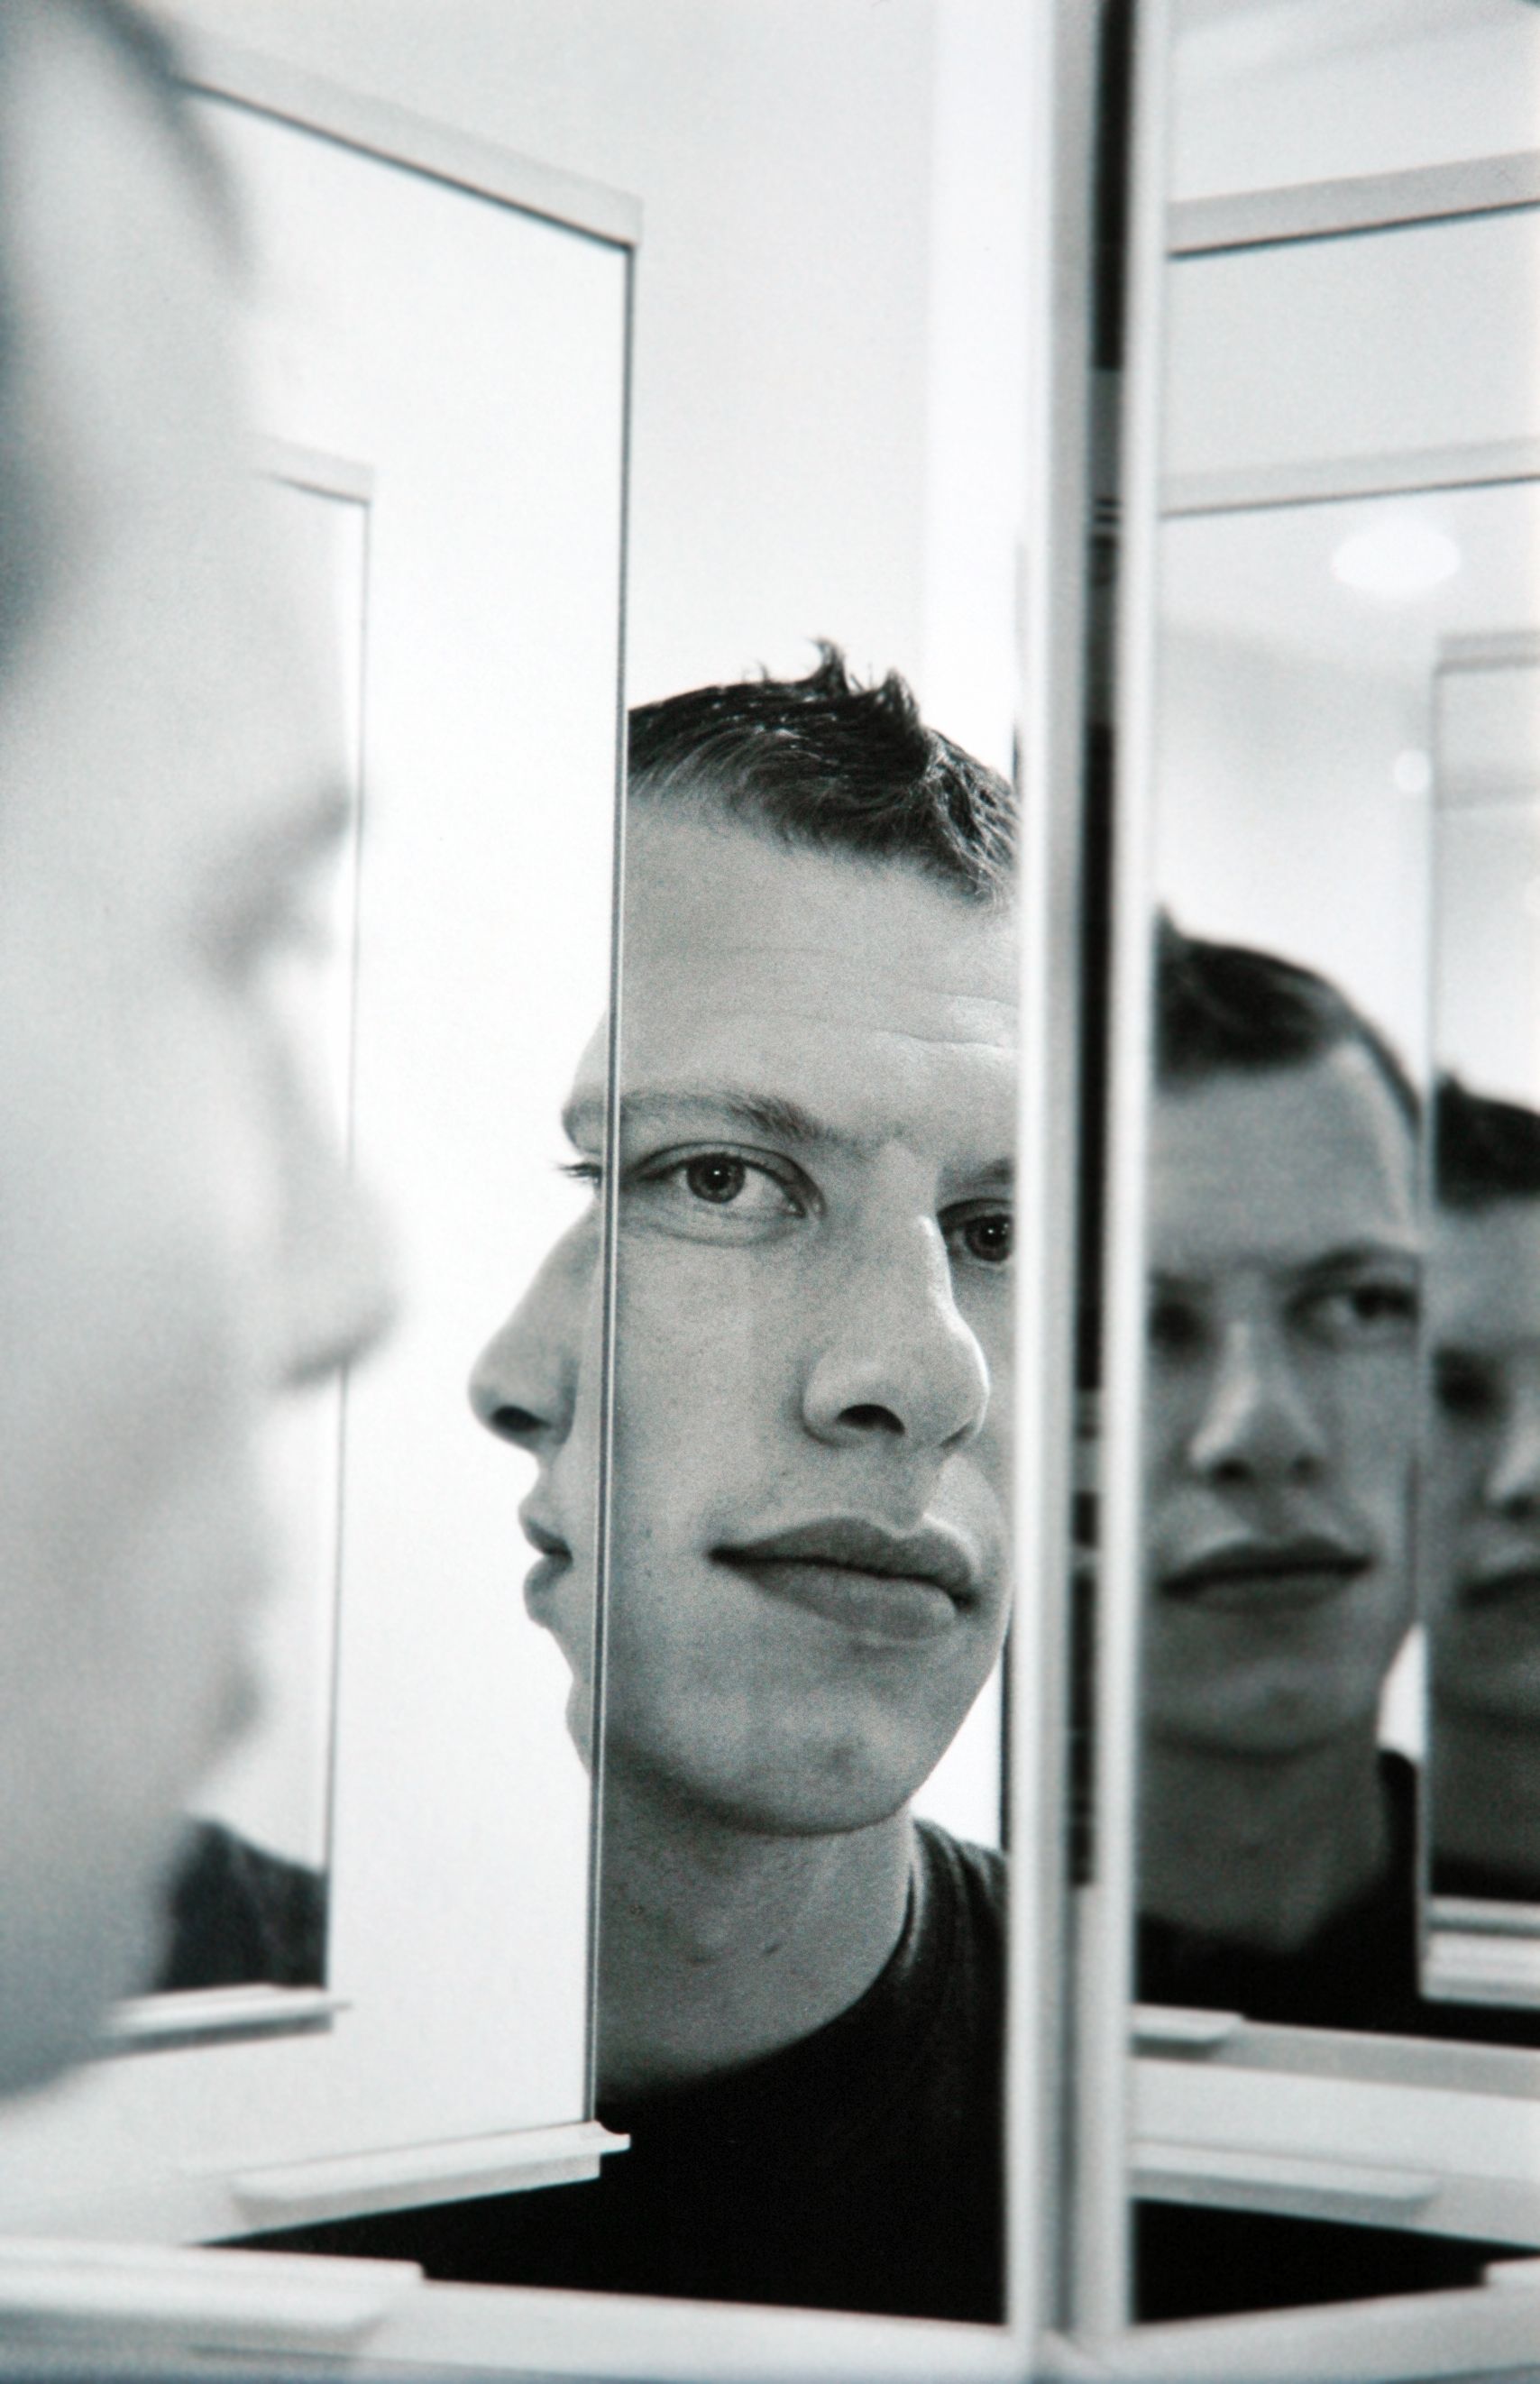
The first step in mirror installation is selecting the appropriate type of mirror for your gym studio. It’s important to consider factors like size, thickness, and reflectivity. Gym mirrors are typically larger to cover expansive areas, allowing for full-body views.
Thickness is another critical aspect. Thicker mirrors are generally more durable and less prone to distortion. Most gym mirrors range from 4mm to 6mm in thickness. Consider your budget and space requirements when making this decision.
Reflectivity and Safety
Opt for high-quality glass with excellent reflectivity to ensure clear and accurate reflections. Safety is paramount, so choose mirrors with a safety backing to prevent shattering. Safety-backed mirrors are designed to hold together even if broken, reducing the risk of injury.
Preparing for Installation
Before installation, it's crucial to prepare the wall where the mirrors will be mounted. Ensure the surface is smooth, clean, and dry. Uneven surfaces can cause mirrors to crack or warp over time. Consider hiring a professional to assess and prep the wall if necessary.
Measure the space accurately to determine the number of mirrors needed and their arrangement. Proper measurements ensure a seamless fit and an aesthetically pleasing layout.
Tools and Materials
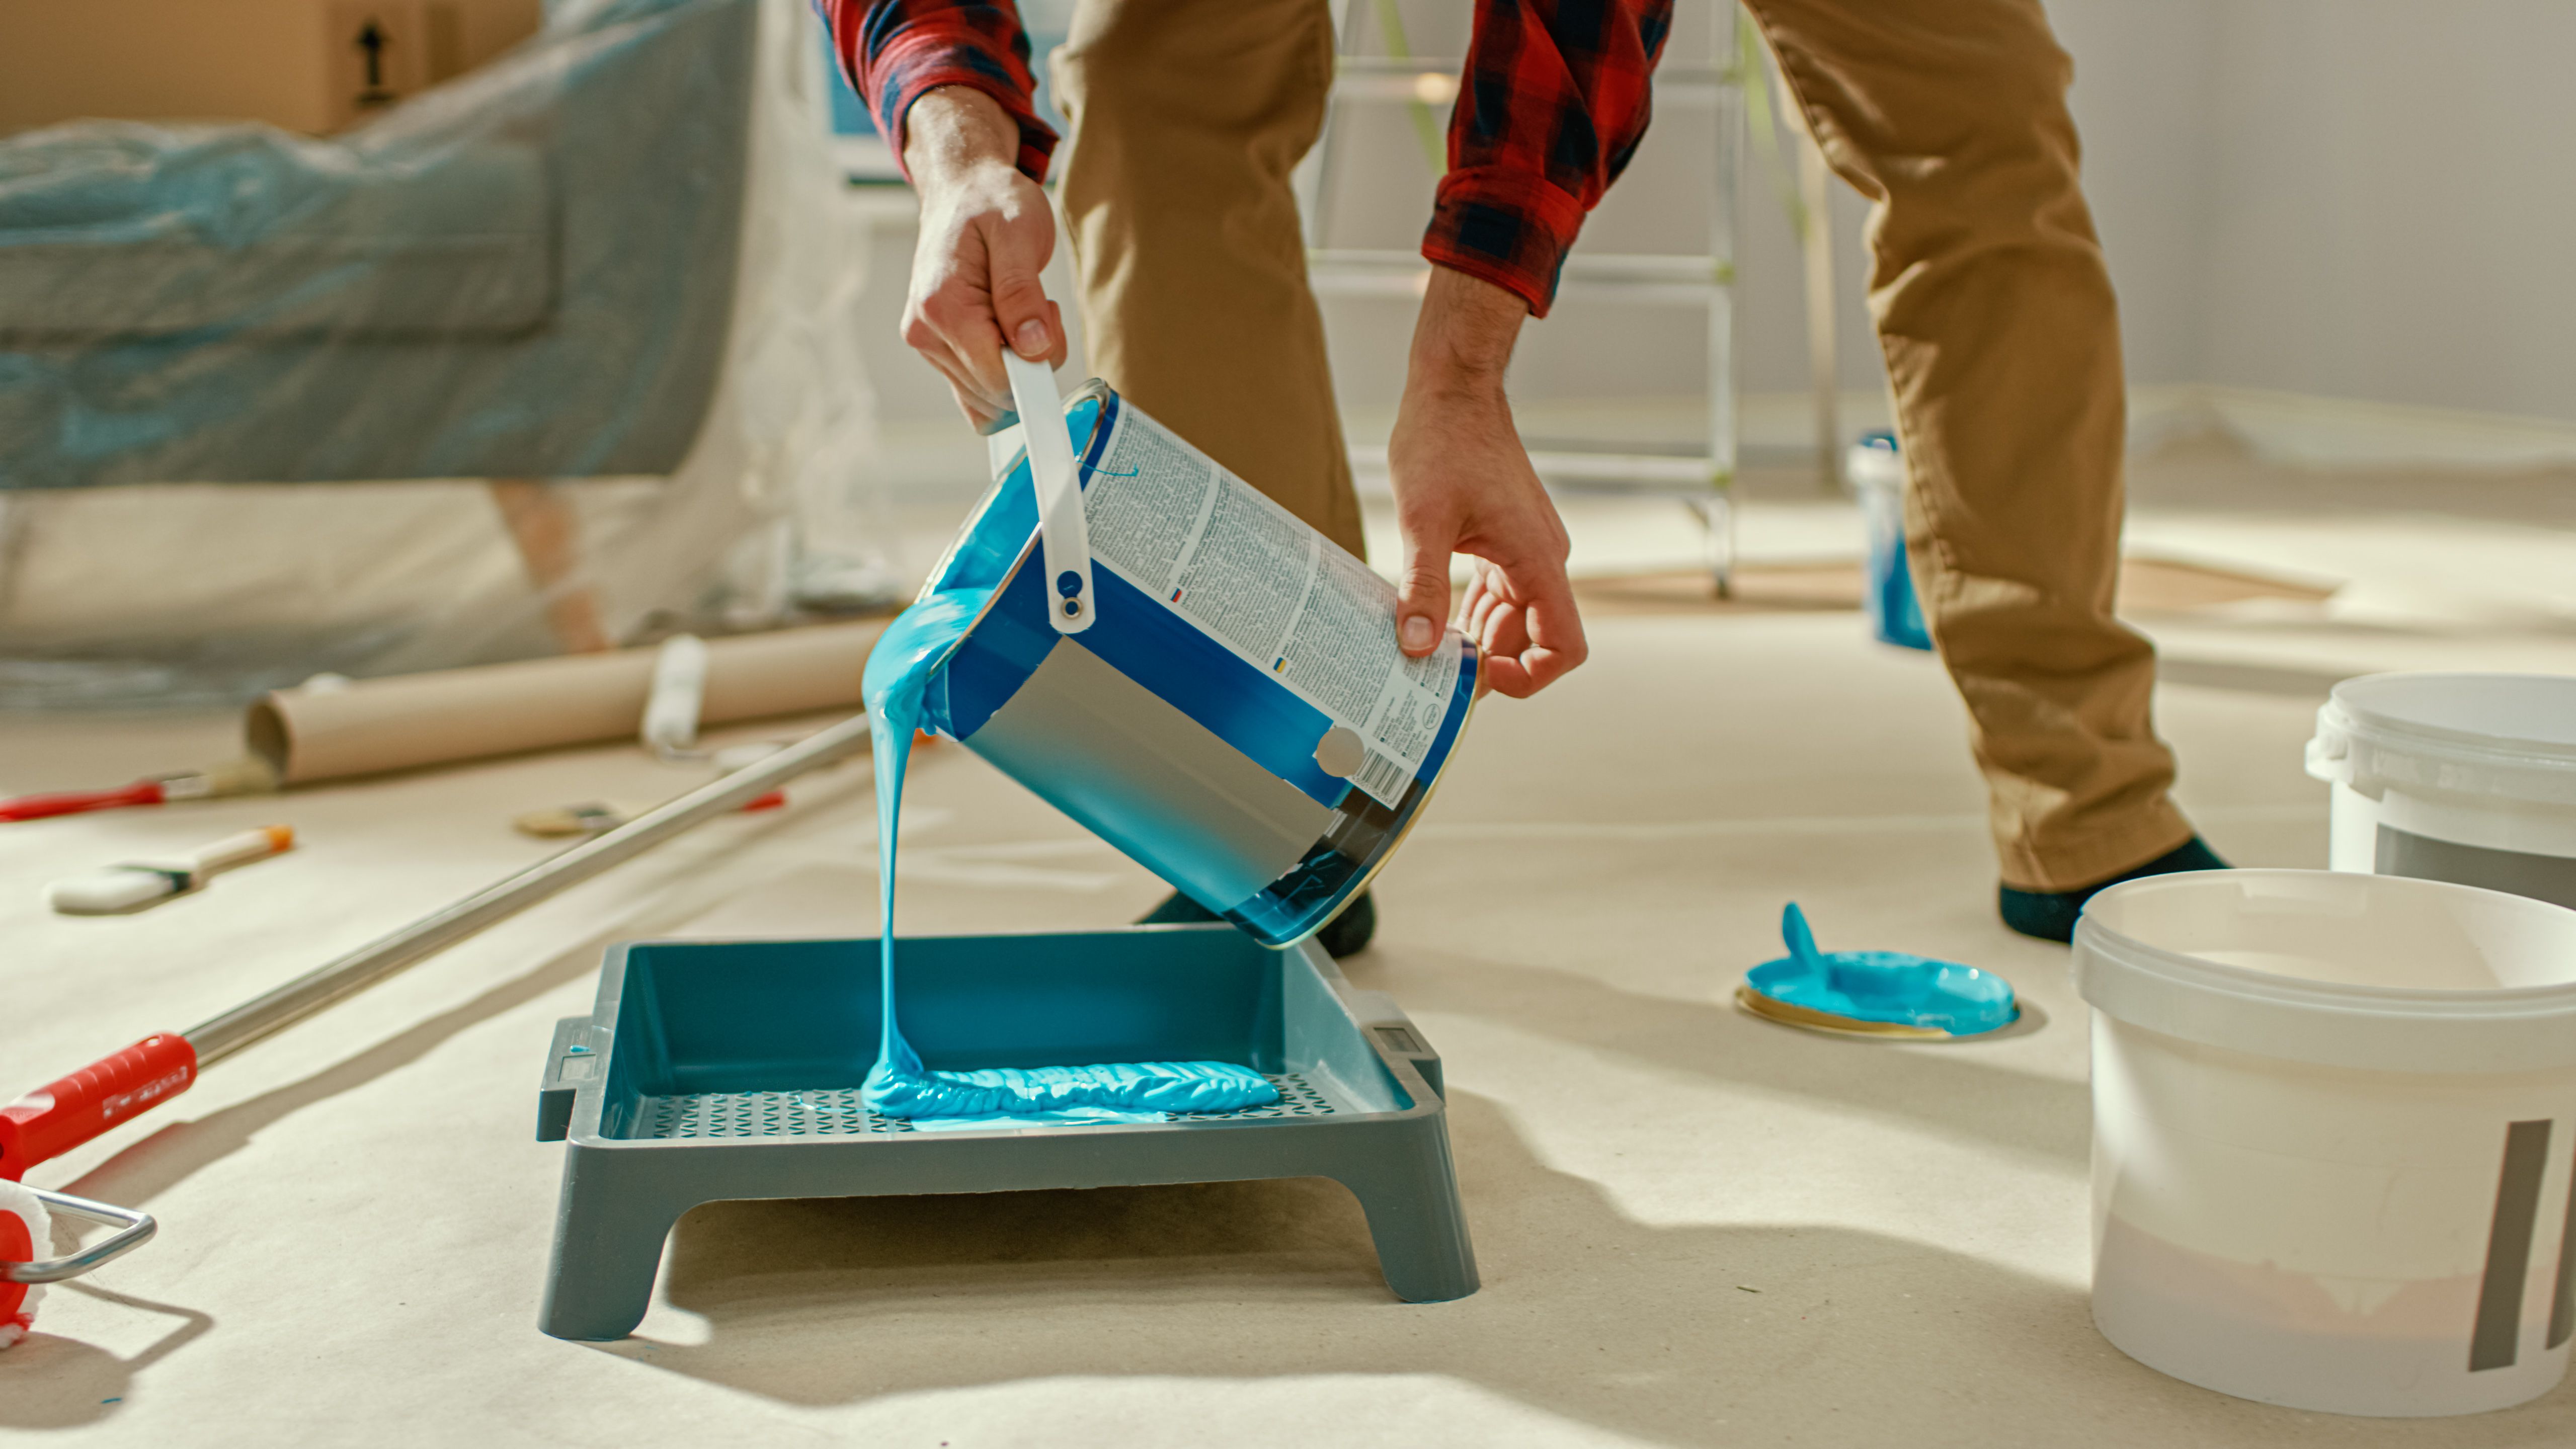
Gather the necessary tools and materials before starting the installation. You'll typically need adhesive glue, J-bars or mirror clips, a spirit level, and a tape measure. Having everything ready will streamline the installation process.
Installation Process
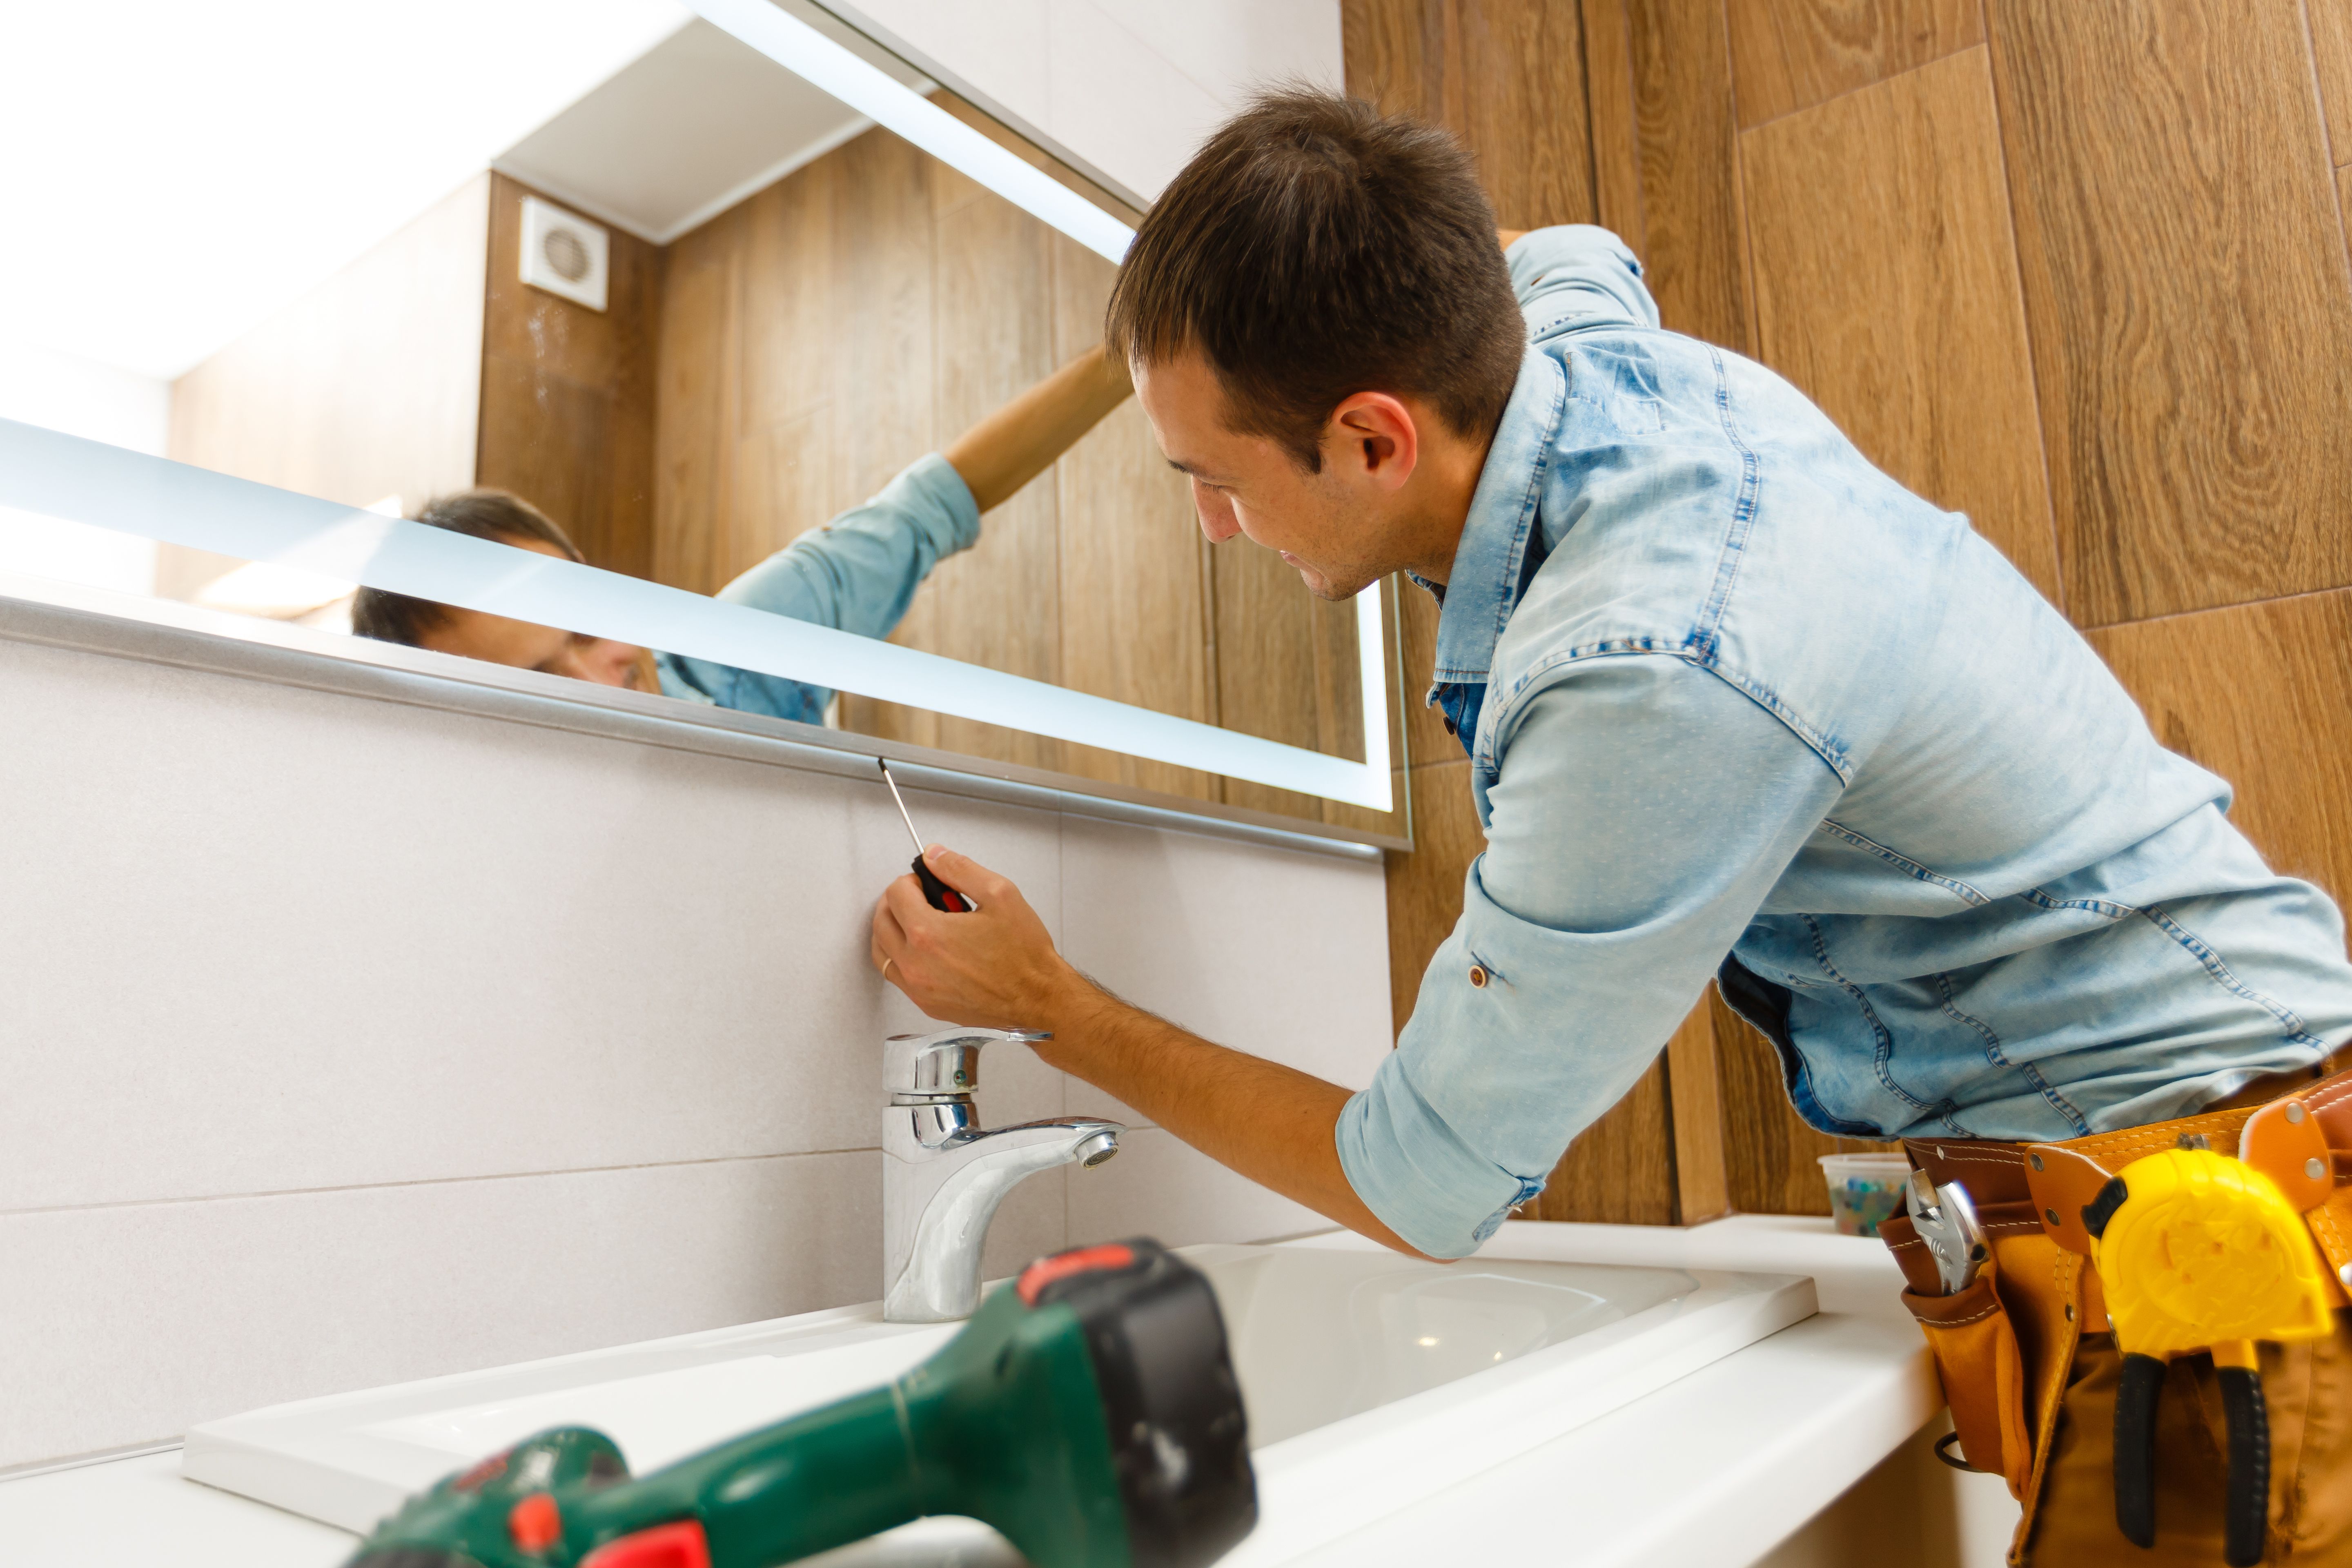
Begin by marking the position for the mirrors on the wall. Use a spirit level to ensure the lines are perfectly horizontal. Installing J-bars or using mirror clips provides additional support and prevents the mirrors from slipping.
Apply adhesive glue to the back of the mirror, focusing on the edges and center. Carefully press the mirror onto the wall, ensuring it aligns with the marked lines. Hold it in place until the adhesive sets.
Final Adjustments
Once the mirrors are installed, perform a final check to ensure everything is secure and aligned correctly. Adjust any clips or bars as needed. Clean the mirrors with a non-abrasive cleaner to remove fingerprints and smudges.
Conclusion
Proper mirror installation is vital for creating a functional and inviting gym studio. By following these steps and choosing high-quality materials, you can ensure your mirrors are both safe and stylish. Consider consulting with professionals if you’re unsure about any part of the process, as expert installation can provide peace of mind and long-lasting results.
With the right preparation and attention to detail, your custom gym studio mirrors will be a valuable addition to your fitness space, enhancing both the functionality and appearance of the studio.