How to Measure Your Studio for the Perfect Mirror Installation


Understanding the Space
Before you begin the process of installing a mirror in your studio, it's crucial to understand the dimensions and layout of your space. Start by measuring the height, width, and depth of the area where you plan to install the mirror. This will help you determine the size of the mirror you need while ensuring it complements your studio's aesthetics.
Consider any architectural features such as windows, doors, or pillars that might influence the positioning of your mirror. Taking these into account will help you avoid any surprises during installation and ensure your mirror enhances the space rather than obstructs it.

Choosing the Right Mirror Size
Once you have the measurements of your studio, it's time to choose the right mirror size. A general rule of thumb is to select a mirror that covers at least two-thirds of the wall space for a balanced look. However, if you want to create a more dramatic effect, you can opt for a larger mirror that spans almost the entire wall.
Remember to account for any frames or borders when calculating the final dimensions. If you plan on using the mirror for practical purposes such as dance or fitness, ensure it is tall enough to reflect full-body movements.
Consider Mirror Placement
The placement of your mirror can significantly affect its functionality and appearance. For instance, positioning a mirror opposite a window can maximize natural light and make the space appear larger and brighter. Conversely, placing it in a corner might create unique visual effects but could be less practical for certain activities.
Tools and Materials Needed
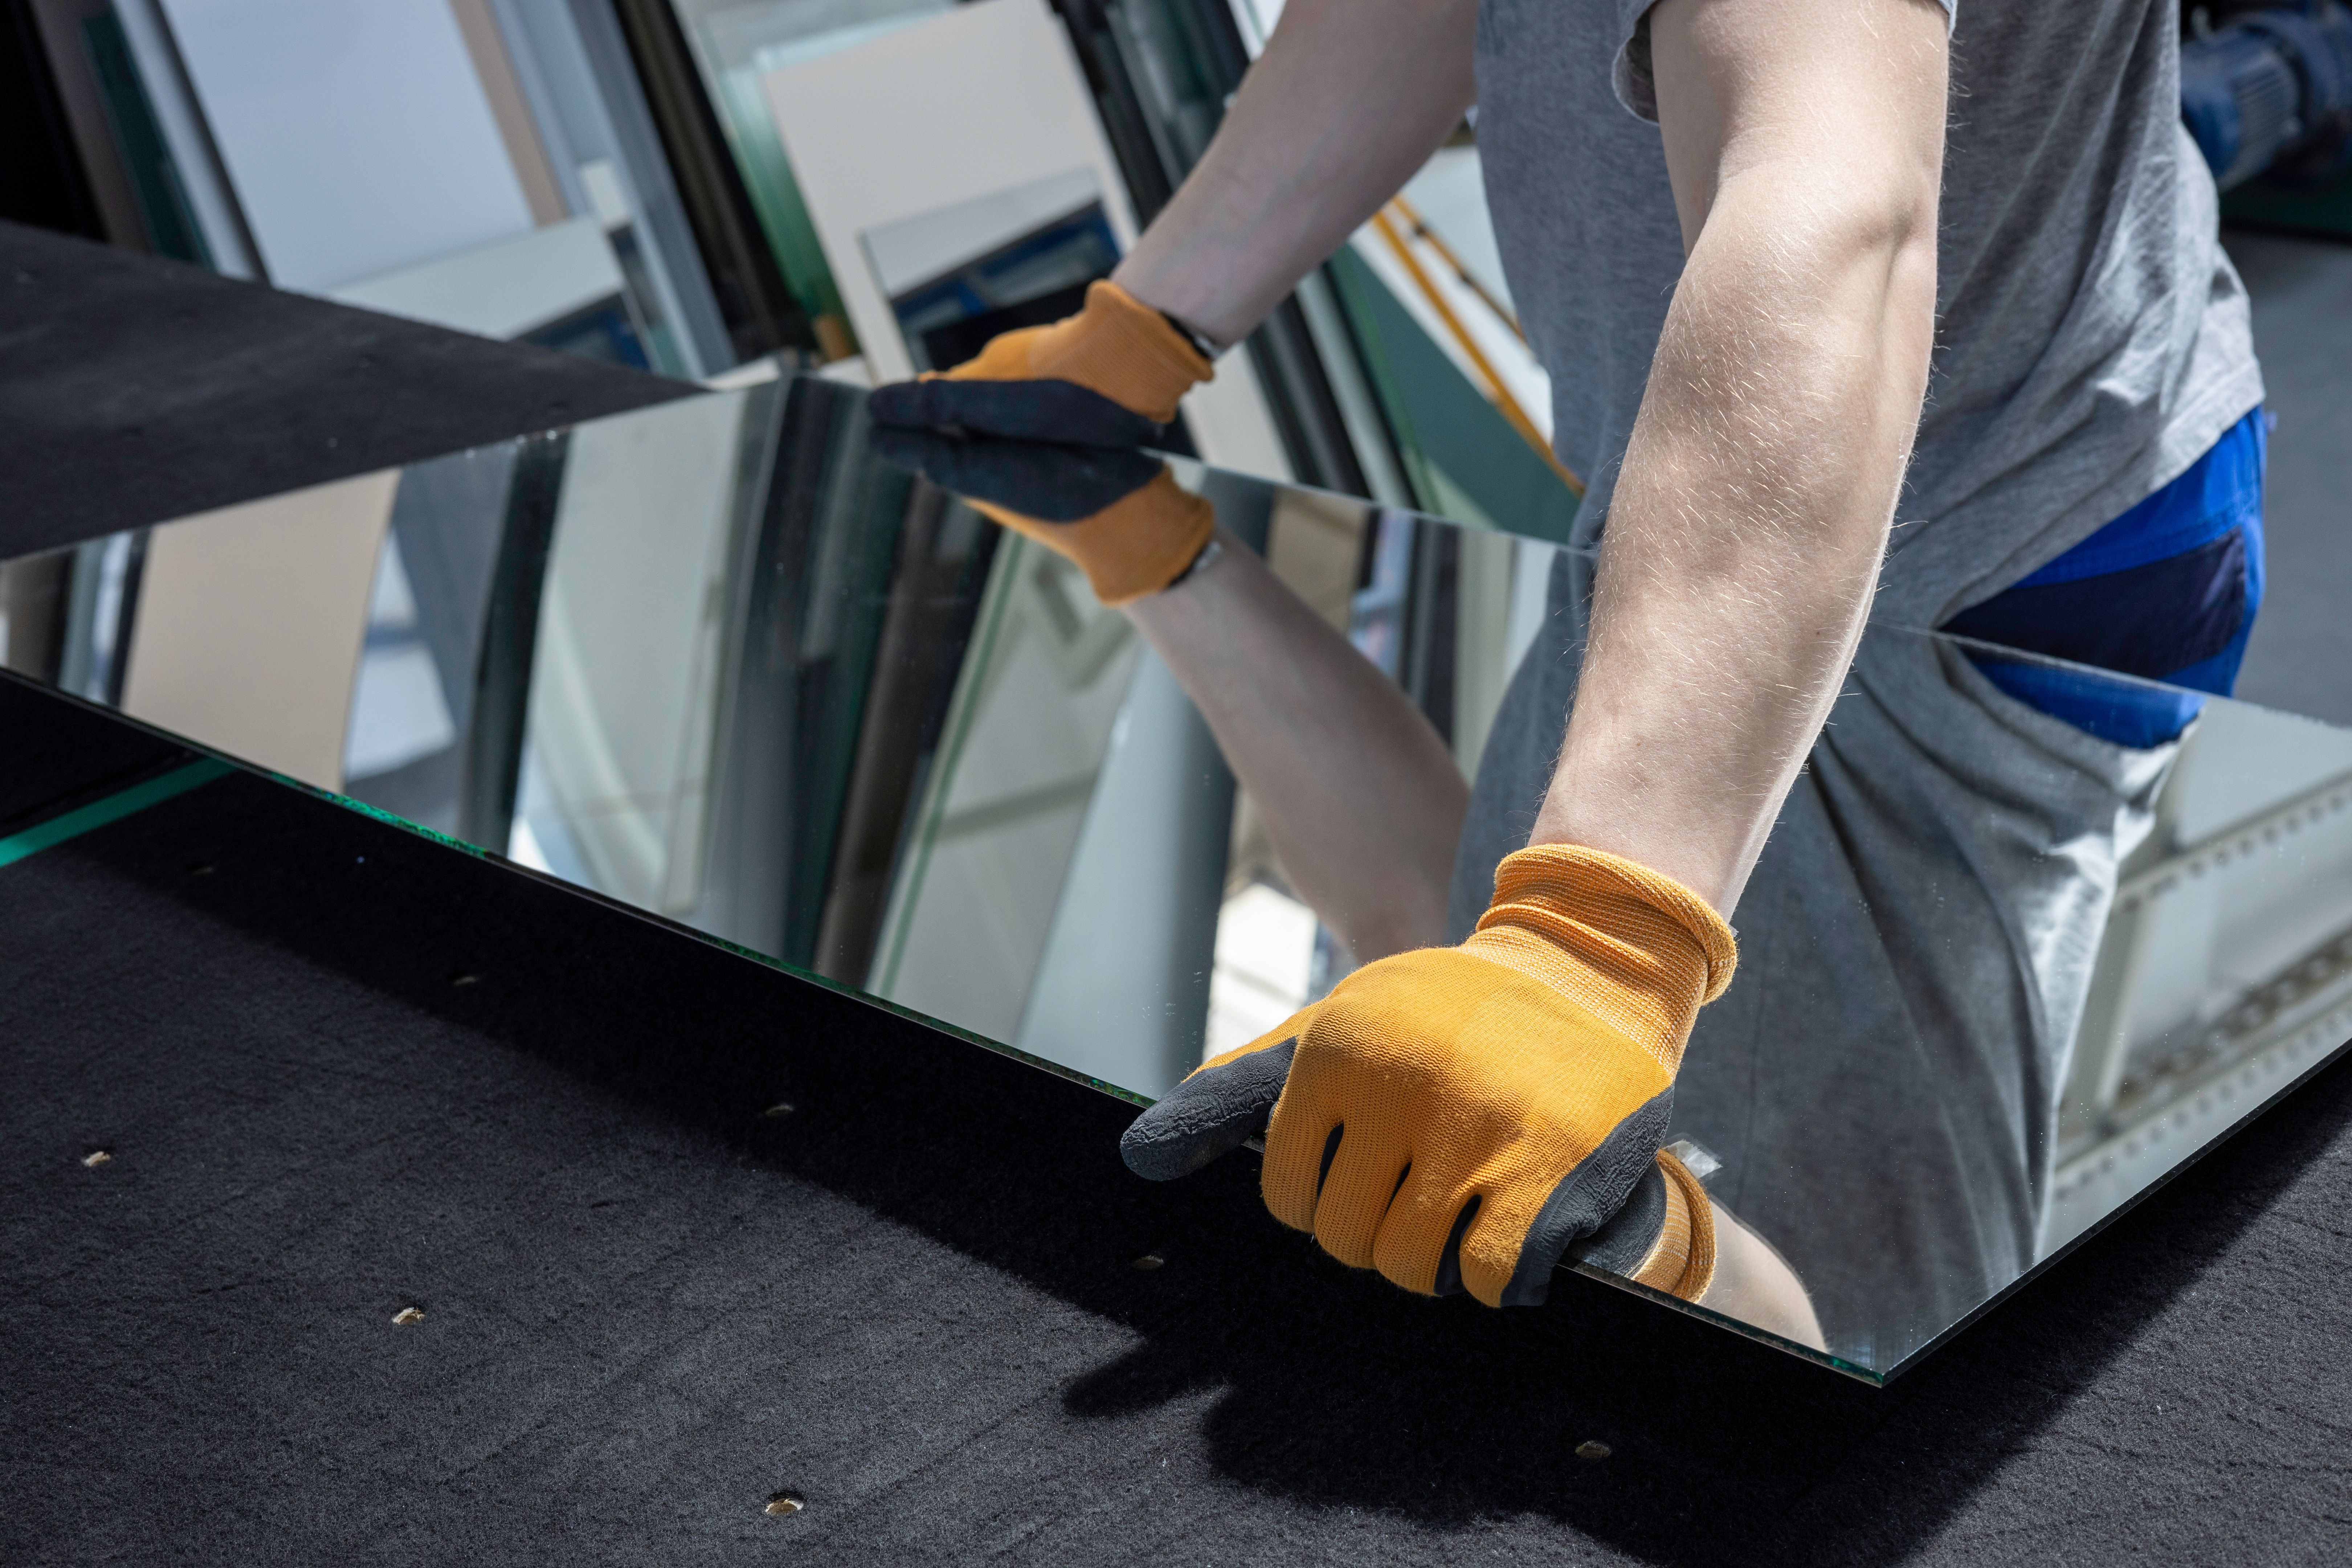
Gathering the right tools and materials is essential for a successful mirror installation. You'll need items like a measuring tape, level, pencil, and appropriate mounting hardware such as brackets or adhesive strips. Depending on the weight and size of your mirror, you might also require anchors and screws to ensure it is securely mounted.

It's advisable to have a second pair of hands to assist you during installation. Mirrors can be heavy and awkward to handle alone, so having someone to help can prevent accidents and ensure precision.
Installation Process
With your tools ready, begin by marking the desired position of your mirror on the wall using a pencil. Use a level to ensure your markings are straight and even. Next, attach any necessary mounting hardware to the wall according to the manufacturer’s instructions.
If you're using adhesive strips, make sure the wall surface is clean and dry before applying them. Carefully position the mirror onto the mounting hardware or adhesive, double-checking that it is level before securing it fully.
Final Touches
After securing the mirror in place, step back and evaluate its alignment and impact on the room. Make any necessary adjustments to ensure it sits perfectly as intended. Consider adding additional lighting or decorative elements around the mirror to enhance its presence in the studio.
Finally, clean the surface of your new mirror with a suitable glass cleaner to remove any fingerprints or smudges acquired during installation. This will give your studio a polished and professional appearance, ready for use.