DIY Installation Tips for Custom Mirrors in Your Home


Introduction to DIY Custom Mirror Installation
Installing custom mirrors in your home can transform any space, adding elegance and depth. Whether you're updating your bathroom, enhancing your living room, or creating a new focal point in your hallway, mirrors can make a room feel larger and more inviting. With a little planning and the right tools, you can easily install custom mirrors yourself.

Gathering Your Tools and Materials
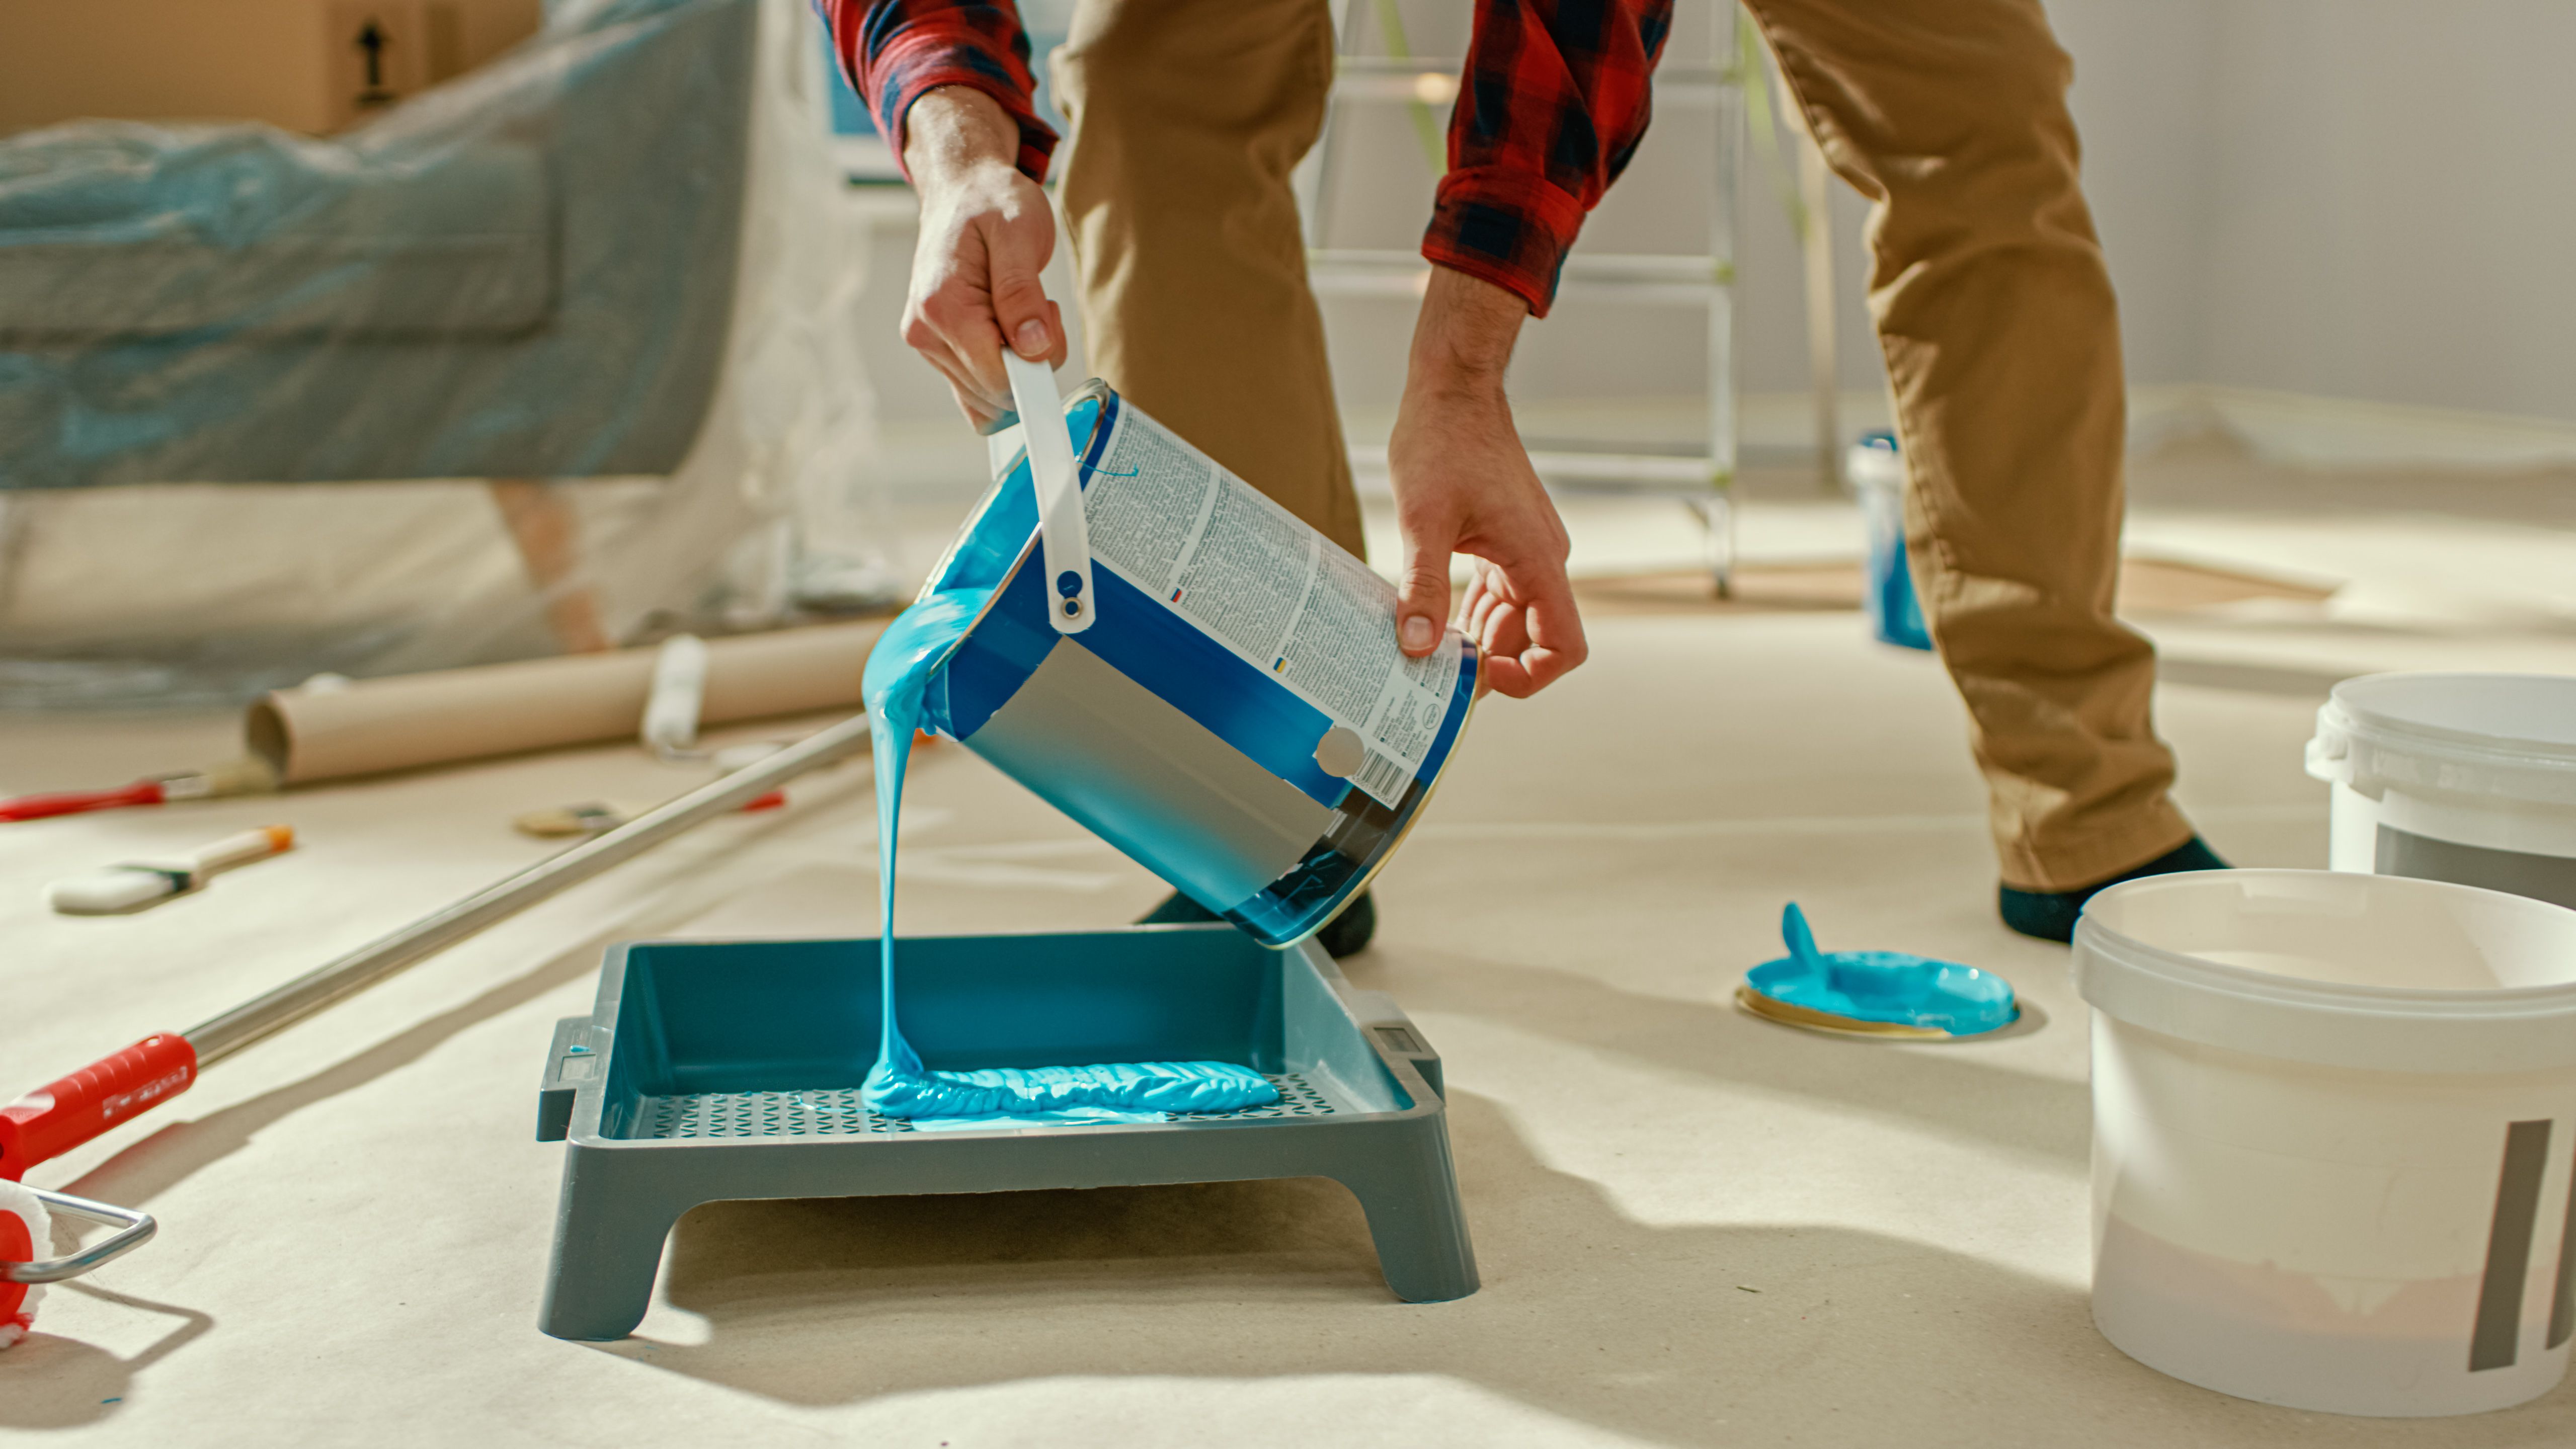
Before you begin, it's crucial to have all the necessary tools and materials. You'll need a measuring tape, level, glass cleaner, wall anchors, screws, and a drill. Depending on the weight of your mirror, you might also need a stud finder for added support. Having the right tools on hand will make the installation process much smoother.
Choosing the Right Mirror
Consider the style and size of the mirror you want to install. Measure the wall space to ensure a perfect fit, and think about the type of edge finish that suits your decor. A beveled edge offers a classic look, while a polished edge can provide a modern touch. Make sure to choose a mirror that complements the existing elements in your room.
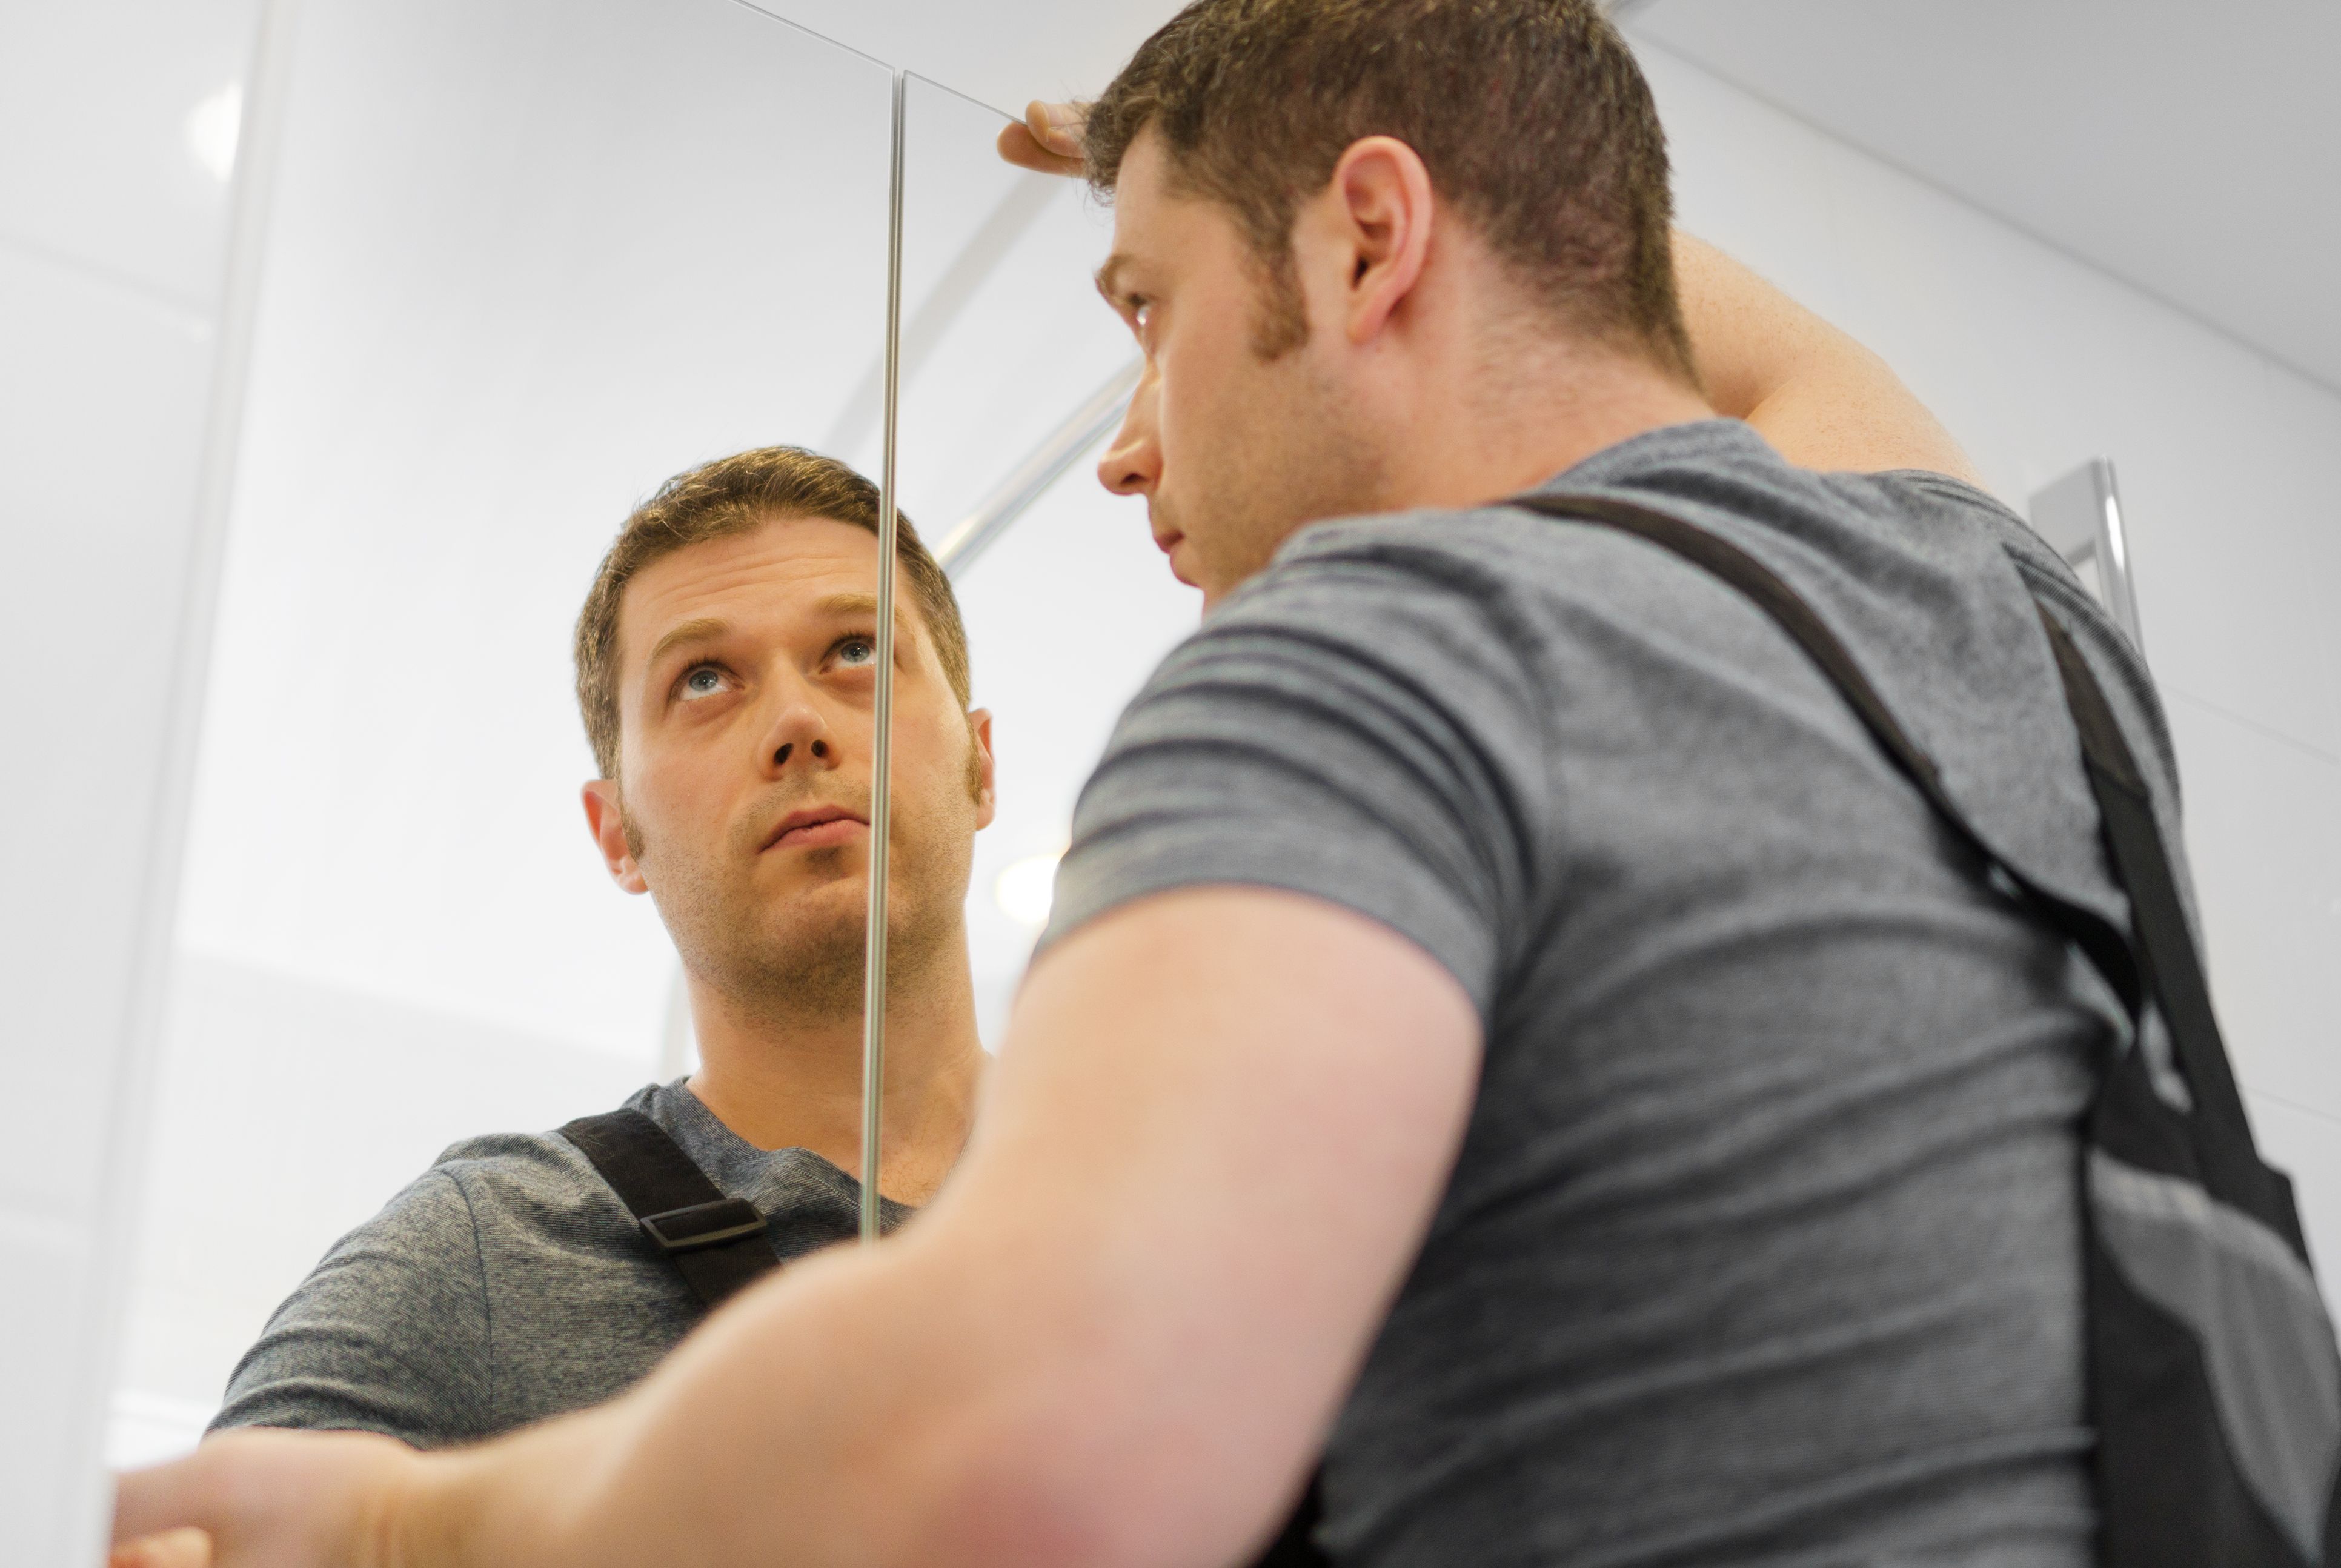
Preparing Your Wall
Once you've selected your mirror, it's time to prepare the wall. Start by cleaning the area to remove any dust or debris. Use a level to mark the position where you want to hang the mirror. If your mirror is heavy, locate the studs in the wall using a stud finder and mark these spots for additional support.
Installing the Mounting Hardware
Secure the appropriate mounting hardware to the wall. For lighter mirrors, wall anchors may suffice. For heavier mirrors, ensure you screw directly into the studs. Use a drill to make precise holes and attach the brackets or clips that will hold the mirror in place. Double-check that everything is level and secure before proceeding.
Mounting the Mirror
With the hardware securely in place, carefully lift the mirror and align it with the mounting points. It's advisable to have a second person assist you to ensure safety and precision. Gently set the mirror onto the brackets or clips, making sure it sits securely. Once the mirror is in place, check that it's level and adjust if necessary.
Final Touches
After the mirror is mounted, give it a good clean with a glass cleaner to remove fingerprints and smudges. Stand back and admire your handiwork. The mirror should enhance the room, reflecting light and creating a sense of space. If you're satisfied with the result, you've successfully completed your DIY project!
Safety Tips and Considerations
When handling glass, always wear protective gloves to prevent cuts. Ensure the area is clear of obstacles to avoid accidents during installation. If you're uncertain about any step, consult with a professional to avoid damaging the wall or the mirror.
By following these DIY installation tips, you can enjoy the beauty and functionality of custom mirrors in your home. Not only will you save money on professional installation, but you'll also gain the satisfaction of completing a home improvement project yourself.